“Trezor.io/start”
If you're new to cryptocurrency or want to protect your digital assets more securely, a hardware wallet like Trezor is one of the safest tools you can use. But to ensure your wallet is set up properly, you must begin at the official setup page: Trezor.io/start. This website guides you step-by-step through the entire process of activating your wallet, securing your recovery phrase, and installing the app needed to manage your crypto. In this article, we’ll break down everything you need to know about Trezor.io/start in simple, easy-to-understand language.
What Is Trezor.io/start?
Trezor.io/start is the official setup portal used by all Trezor hardware wallet owners. Whether you own a Trezor Model One or a Trezor Model T, this website provides clear and safe instructions to help you get started. It was designed to prevent confusion, protect beginners from fake websites, and ensure that every new Trezor wallet is properly secured.
When you visit this page, you’re guided through connecting your device, installing Trezor Suite, updating your firmware, and generating your recovery seed. These steps are crucial because they determine how safely your crypto will be stored.
Why Hardware Wallets Like Trezor Are Important
Keeping your cryptocurrency online exposes it to many risks. If you store it on an exchange, you are trusting a company to protect your funds. If you use a mobile or browser wallet, your private keys are still exposed to the internet, making them vulnerable to hackers, scams, or malware.
A Trezor hardware wallet solves these issues because:
Your private keys are stored offline.
Hackers cannot access your wallet remotely.
You approve all actions by physically pressing buttons on the device.
You alone control your crypto—no third party involved.
This level of security is why millions of users rely on Trezor to store their long-term assets. However, the wallet must be set up correctly, and that begins at Trezor.io/start.
Step-by-Step Guide to Using Trezor.io/start
1. Open the Official Website
Start by visiting:
It’s important to type the address manually or use a trusted link. Scammers often create fake websites with similar names, so always check that the URL is spelled correctly.
Once on the site, you will see options based on your Trezor model.
2. Unbox and Inspect Your Device
Before connecting your device, make sure the packaging looks legitimate. Trezor boxes are sealed, and the device should not come with a pre-written recovery phrase. If your box includes a card with a seed phrase already printed on it, it is fake or tampered with.
Your package should contain:
The Trezor hardware wallet
A USB cable
Recovery seed cards
Stickers and a quick-start guide
3. Download and Install Trezor Suite
Trezor Suite is the official application for managing your crypto once the device is set up. It works on Windows, macOS, and Linux.
From Trezor.io/start, download the app and install it. Trezor Suite allows you to:
Send and receive crypto
Check your balances
Add accounts
View your portfolio
Update your device firmware
Change security settings
It is important to use only the official installer from Trezor.io/start to avoid dangerous fake versions.
4. Connect Your Trezor Device
Using the USB cable, plug your Trezor into your computer. Trezor Suite will detect it immediately and guide you through the next steps.
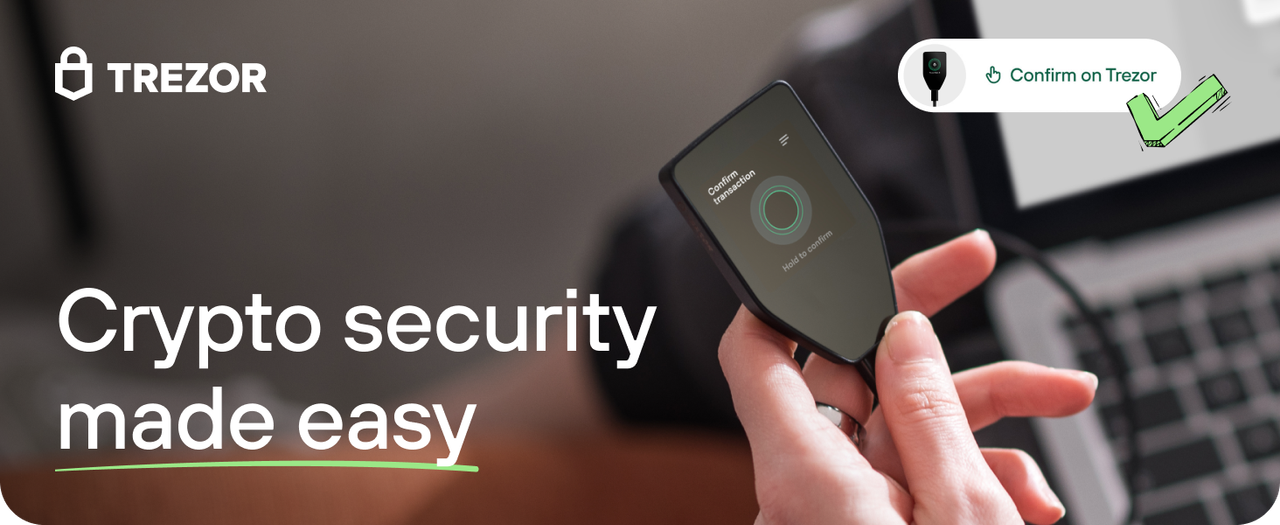
Everything you do will require confirming actions on the device's screen. This prevents remote hacking and keeps your wallet protected.
5. Install or Update Your Firmware
If your device is new, it may need a firmware installation. Firmware is the internal software that helps your Trezor function properly and securely.
Trezor Suite will guide you through the update and ask you to confirm on your device. This ensures your wallet is secure and running the latest protection features.
6. Create a New Wallet
Next, choose “Create New Wallet.”
This is where your recovery seed—also called a seed phrase—is generated.
Your device will display either:
12 words
or 24 words
You must write these words down in the exact order on the provided cards.
Important rules for your seed phrase:
Never store it on your phone.
Never take a photo.
Never type it on your computer.
Never share it with anyone.
Your recovery seed is the ONLY way to restore access to your crypto if your device is lost, damaged, or stolen.
7. Set Your PIN
After writing down your seed phrase, the device will prompt you to create a PIN. This PIN is required every time you connect the device. It prevents anyone from using your Trezor without permission.
Choose a PIN that is hard to guess and do not share it.
8. Add Accounts and Start Using Your Wallet
Once setup is complete, open Trezor Suite to add crypto accounts like Bitcoin, Ethereum, or other supported coins. From here, you can:
Send crypto
Receive funds
Track your portfolio
Manage multiple accounts
Use advanced security tools
Your private keys always remain inside the hardware wallet—and never touch the internet.
Conclusion
Trezor.io/start is the safest and most reliable place to begin your Trezor journey. It ensures your wallet is genuine, your seed phrase is created securely, and your device is ready for long-term crypto protection. Storing your crypto in a hardware wallet gives you full control over your assets, and following the official setup steps helps you secure them properly. Whether you’re new to cryptocurrency or simply upgrading your security, Trezor provides a trusted, easy-to-use solution that keeps your digital wealth safe.